How to Clear Out Tomato Beds in Fall
Plus a Freezer-Friendly Tomato Recipe
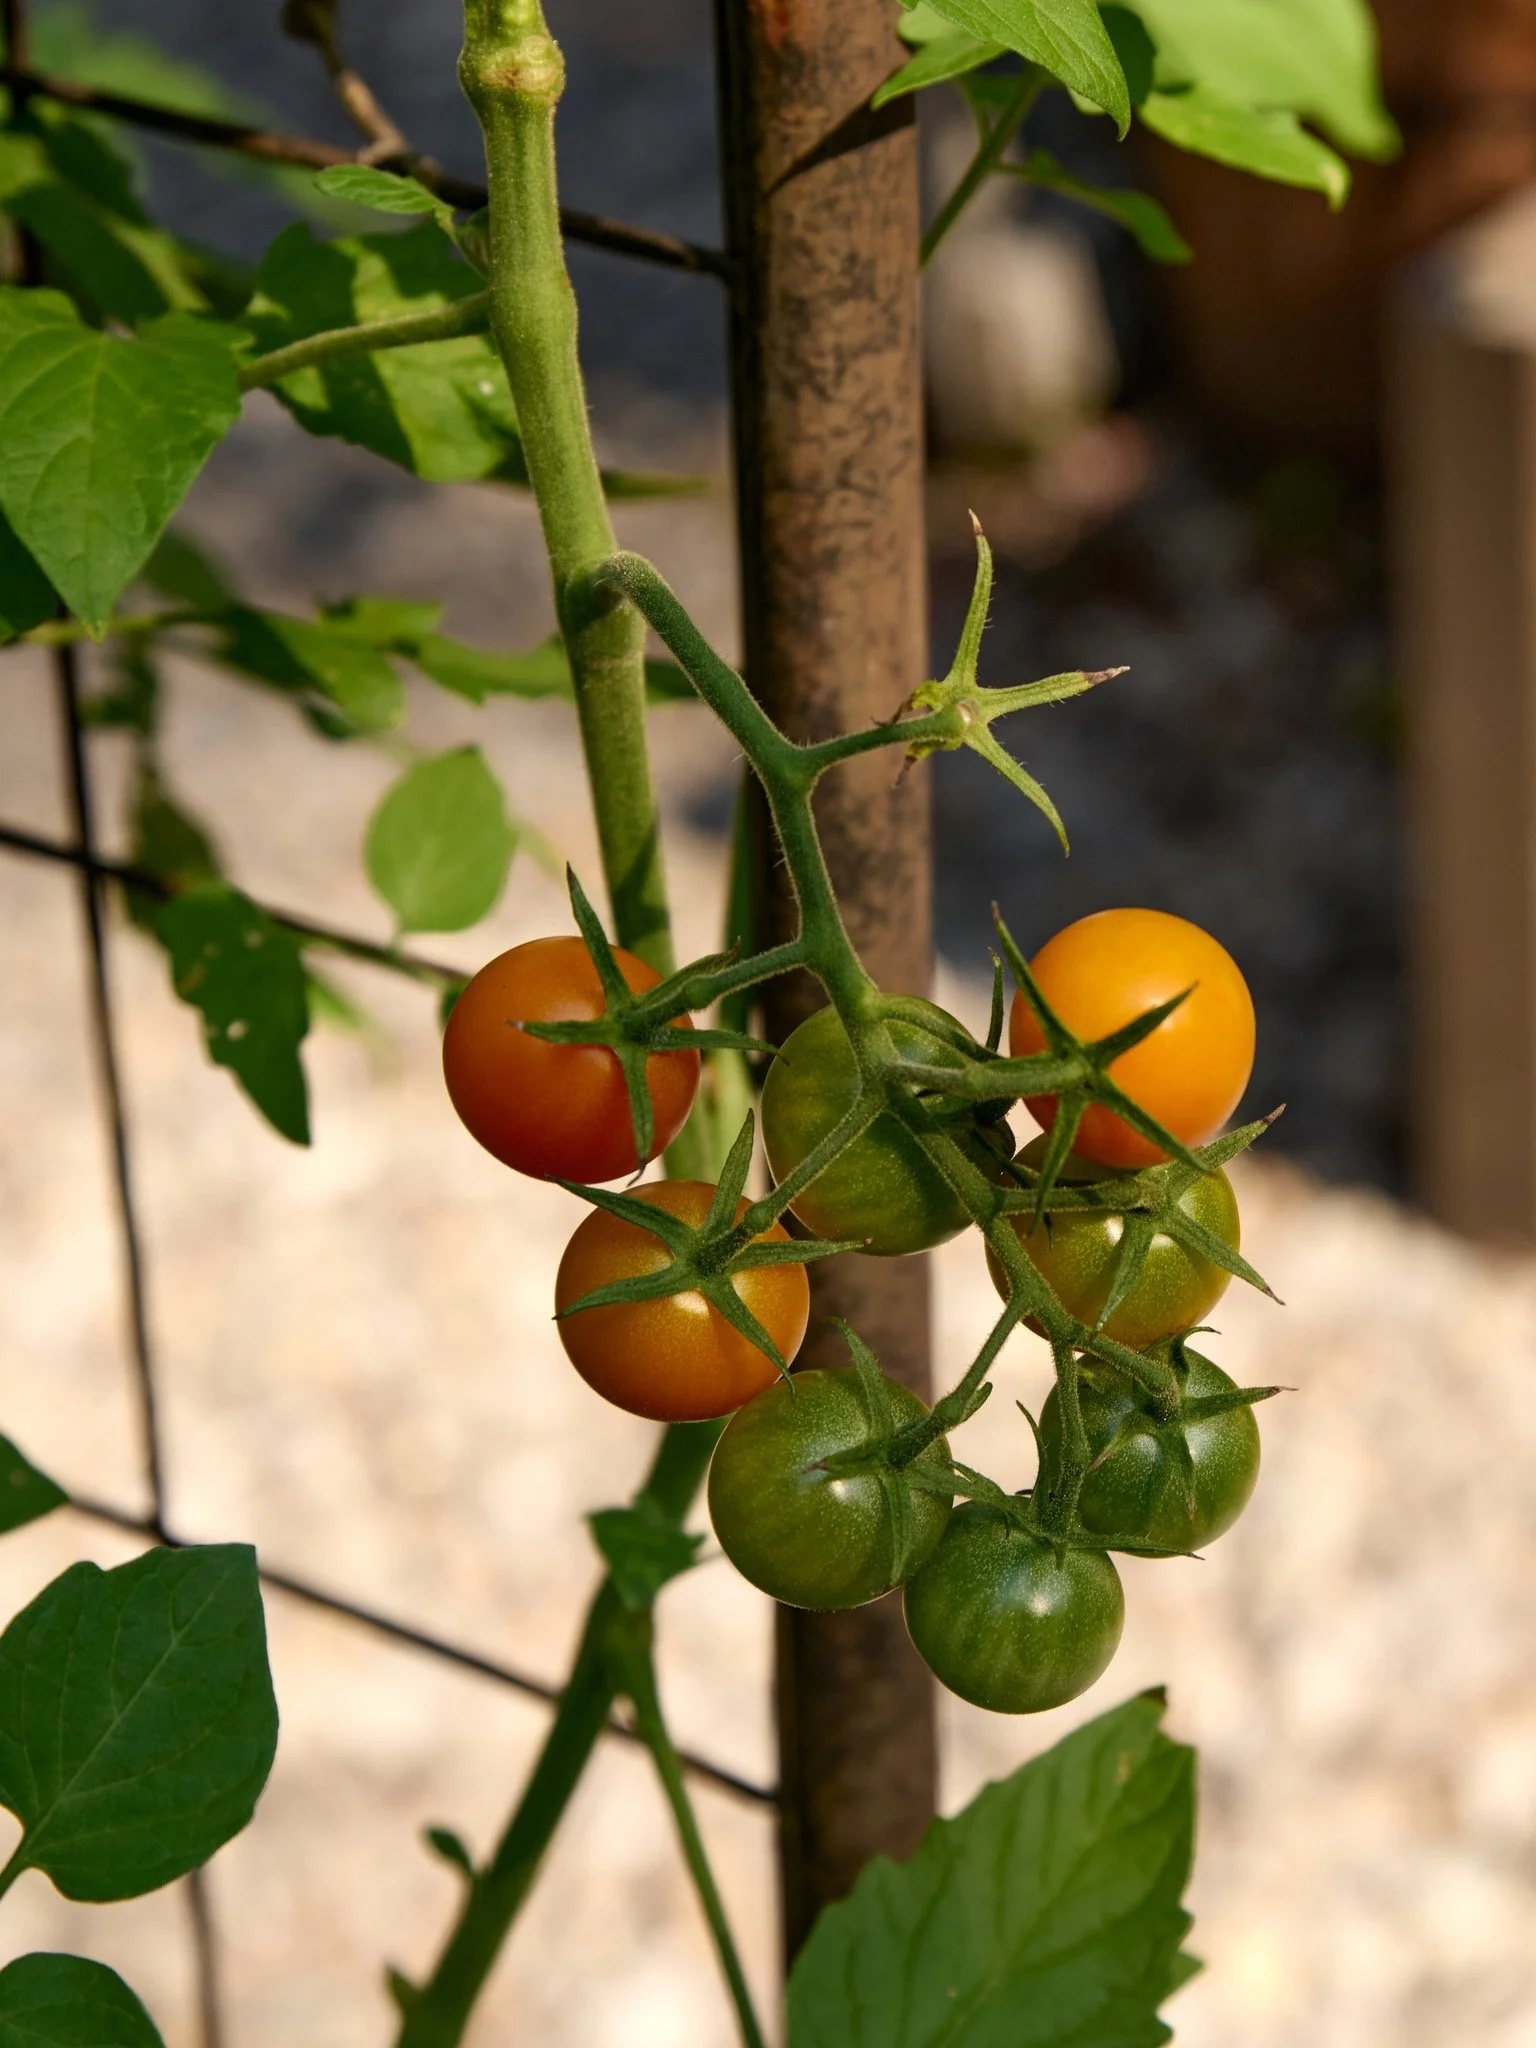
Why It's Time to Put the Tomato Bed to Bed
My home garden is still a mix of warm and cool season plants. The zucchini and eggplants are gone, replaced by leafy greens. I've pruned back my chile peppers to eke out every remaining ripening day before the frost, but they're still taking up a load of space.
I let the tomatoes go for as long as they're producing without constant splitting, but then the bed gets put, well, to bed, for the winter. Sadly, we've reached that point.
Quick Answer: How to Clean Up Tomato Beds in Fall
To clean up tomato beds in fall, harvest all fruit, check stems and roots for wilt or nematodes, cut plants at the base, lift the crown, discard diseased material, clear dropped fruit and debris, and clean your stakes and cages before winter.
Should You Leave Tomato Roots in the Ground?
With most kitchen garden plants, I cut the spent plants at the soil line and let the roots break down and feed the soil. After many years of testing, though, I've found that the thick and woody crowns and main roots of tomatoes are still there in spring. In other climates, you may find that isn't the case. If you're not sure, go on and give it a test this winter.
My only warning: if you see any signs of root-knot nematodes or wilt diseases, don't leave the roots in the ground. (Leaf diseases aren't a concern here, just be sure to remove any and all above-ground debris.)
How Do You Clean Up Tomato Beds in Fall?
Growing tomatoes is a race against time. The question isn't whether you'll fight disease, it's when. Here are the steps I follow for my end-of-year tomato clear out, to clean up my tomato beds and keep the garden healthy for next year.
Harvest everything. Once you notice increased splitting, it's time to call it. Anything with even the tiniest bit of blushing on the bottom of the fruit can be ripened indoors. Anything still properly green is a nice contender for fried green tomatoes and poached eggs.
Check the stem. Slice a lower stem lengthwise. Brown streaks just under the skin suggest wilt; pale green or white is healthy.
Remove the tops. Cut the plant at the base and take out leaves, stems and fruit.
Loosen and lift the crown. Fork around the base, lever up the crown, and shake the soil back into the bed.
Check the roots. Galls or knots mean nematodes; brown, rotted roots may mean disease. Healthy roots are pale and fibrous. (Root-knot nematodes are more common in warmer climates.)
Sort what you pulled. Galled, wilted or blighted material goes in the trash or municipal yard waste. Healthy material can go in the compost. Note: if you have a proper hot compost pile, it is safe to add the blighted material.
Pick up every dropped tomato.
Clear the surface. Rake up leaves and debris.
Treat slug and pill bug beds differently. If you struggled with slugs or pill bugs, leave those beds bare and dry. No straw or leaf mulch this winter, and no overwintering root crops there. We'll give it lots of compost and microbial love in the spring.
Clean stakes, cages and ties. Scrub, disinfect or replace strings.
Now into the kitchen with a full harvest basket…
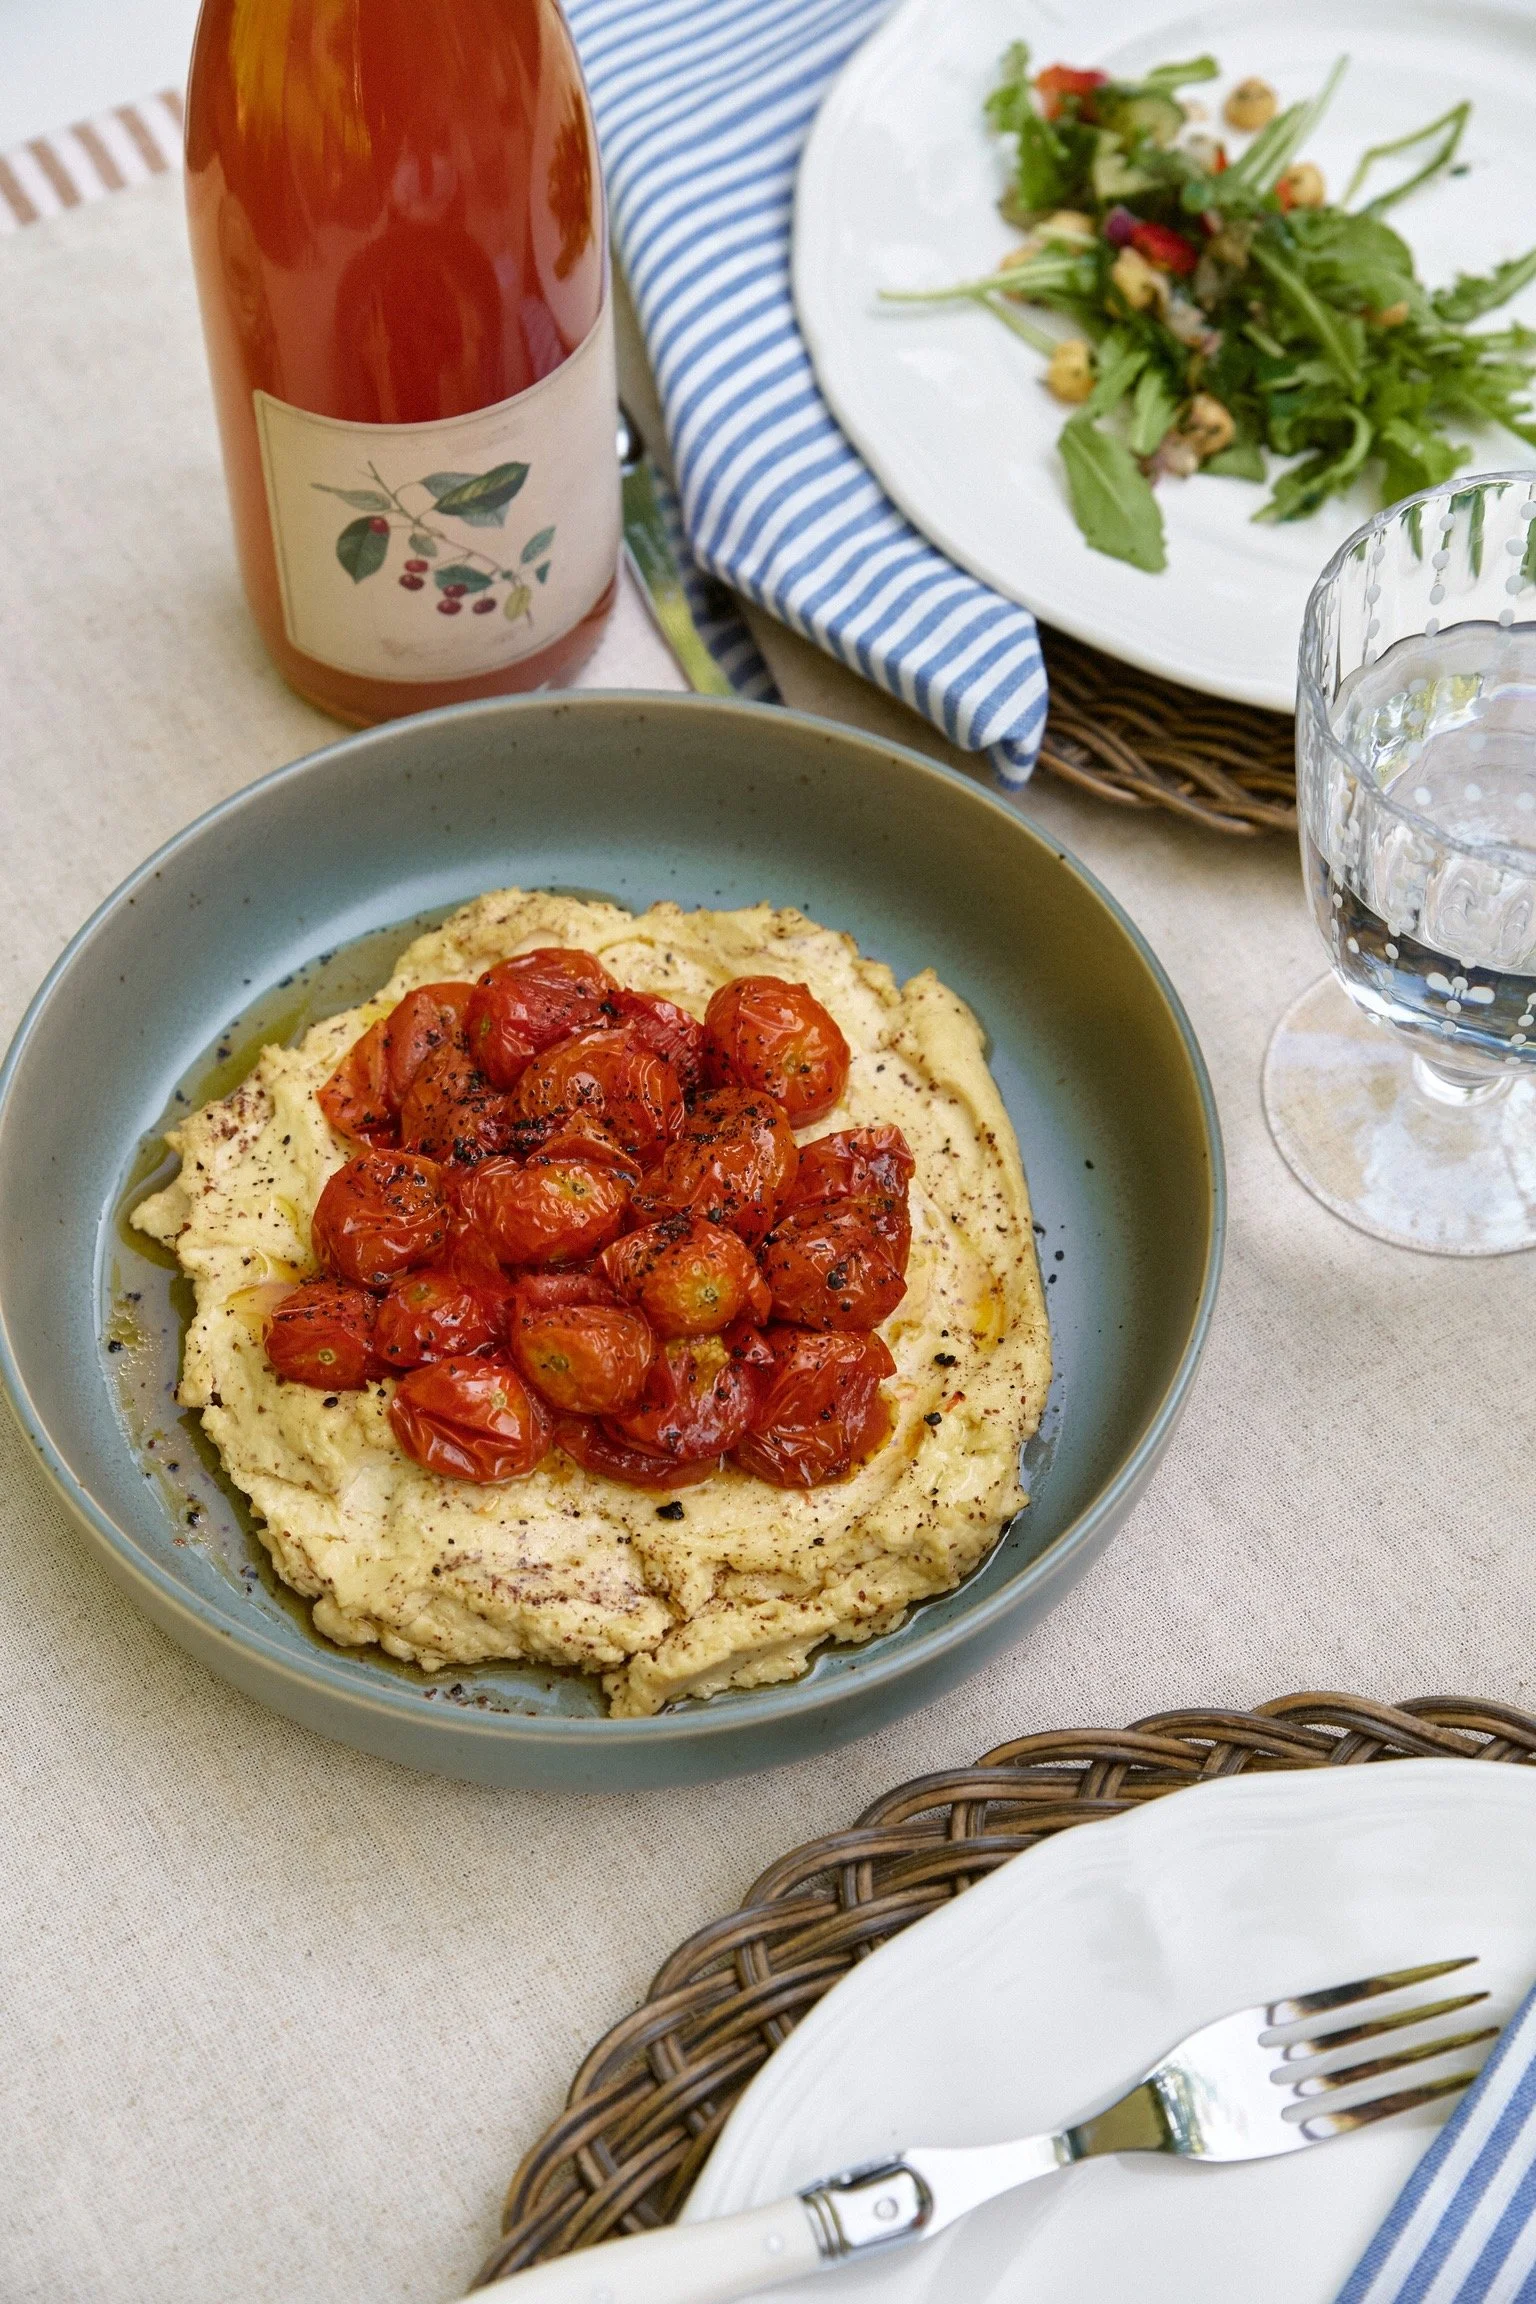
Freezer-Friendly Jammy Roasted Cherry Tomatoes
I won't even guess how many batches we make of this each year. Some get used straight away with pasta, grains, in frittatas, as a hummus topper, or spooned over chicken, while others get bagged into 2 cup portions and stashed in the freezer.
INGREDIENTS
4 cups cherry tomatoes
2-3 sprigs thyme
2 garlic cloves, peeled
2 tablespoons olive oil
Kosher salt
INSTRUCTIONS
Preheat oven to 250°F.
Toss the tomatoes, thyme and garlic with the olive oil on a rimmed baking sheet. Sprinkle with salt.
Roast until the tomatoes are soft and shriveled. Depending on the size of the tomatoes, expect 1 to 1.5 hours. (A reminder that I'm not a professional recipe developer. I can't think of a better word.)
Remove the thyme. Using a fork, mash the garlic and give it all a mix before using or freezing.
If freezing, use within 4 months.
I made a short video about this recipe. Watch it HERE on Instagram.
From my garden to yours,
Kiera